Build Your First Mobile App with Flutter and React Native
Are you eager to make an app? It’s absolutely possible. Today, anyone can learn mobile app development with the right tools and guidance. Frameworks like Flutter and React Native have made it easier than ever to create apps for both Android and iOS using a single codebase. Even if you are a beginner with little or no coding experience, you can still start building your first application by following a clear step-by-step process.
In this tutorial, you will learn how to create a mobile app using Flutter and React Native, two of the most popular technologies for cross-platform app development. This guide will give you an easy overview of the tools, installation process, project setup, and basic steps required to build and run your first app. If you want to understand how mobile apps are made and which framework is better for beginners, go through this complete blog article and get a simple, practical introduction to modern app development.

What is better Flutter or React Native?
Both Flutter and React Native are good, but the better choice depends on what you care about: performance, speed, job demand, or ease of learning. I’ll give you a clear, teacher-style comparison so you can decide without confusion.
🚀 Overview
Flutter → made by Google
React Native → made by Meta
Both are used for cross-platform app development (Android + iOS).
⚡ Performance
✅ Winner: Flutter
Flutter uses its own rendering engine
Faster UI
Smoother animations
React Native depends on native components → slightly slower in heavy apps.
👉 If performance matters → choose Flutter.
🎨 UI Design & Customization
✅ Winner: Flutter
Ready-made UI widgets
Same design on Android & iOS
Easier to make beautiful apps
React Native uses native UI → sometimes different look on devices.
👉 If you want modern UI → Flutter is better.
💻 Programming Language
Flutter → Dart
React Native → JavaScript
✅ Winner: React Native (for beginners)
Because JavaScript is more popular than Dart.
👉 If you know JavaScript → React Native is easier.
📈 Job Demand (Important)
Depends on location, but generally:
React Native → more jobs
Flutter → growing fast
Reason:
React Native uses JavaScript → used everywhere.
👉 If job is priority → React Native slightly better
👉 If future growth → Flutter strong choice
🔧 5. Development Speed
Both are fast, but:
Flutter → faster UI build
React Native → faster if you know JS
Tie, but many developers prefer Flutter now.
| Situation | Better Choice |
|---|---|
| Beginner with no coding | Flutter |
| Know JavaScript | React Native |
| Best performance | Flutter |
| More job options | React Native |
| Future proof | Flutter |
| Easy UI design | Flutter |
Flutter and React Native are two of the most popular frameworks for building mobile apps for Android and iOS. Both allow developers to create cross-platform apps using a single codebase. This guide explains step by step how to make a simple app using Flutter and React Native. The steps are written in an easy way so beginners can understand the full process.
Step-by-Step Mini User Guide to Make an App Using Flutter and React Native
Flutter is developed by Google and uses the Dart programming language. It is known for fast performance, beautiful UI, and easy development.
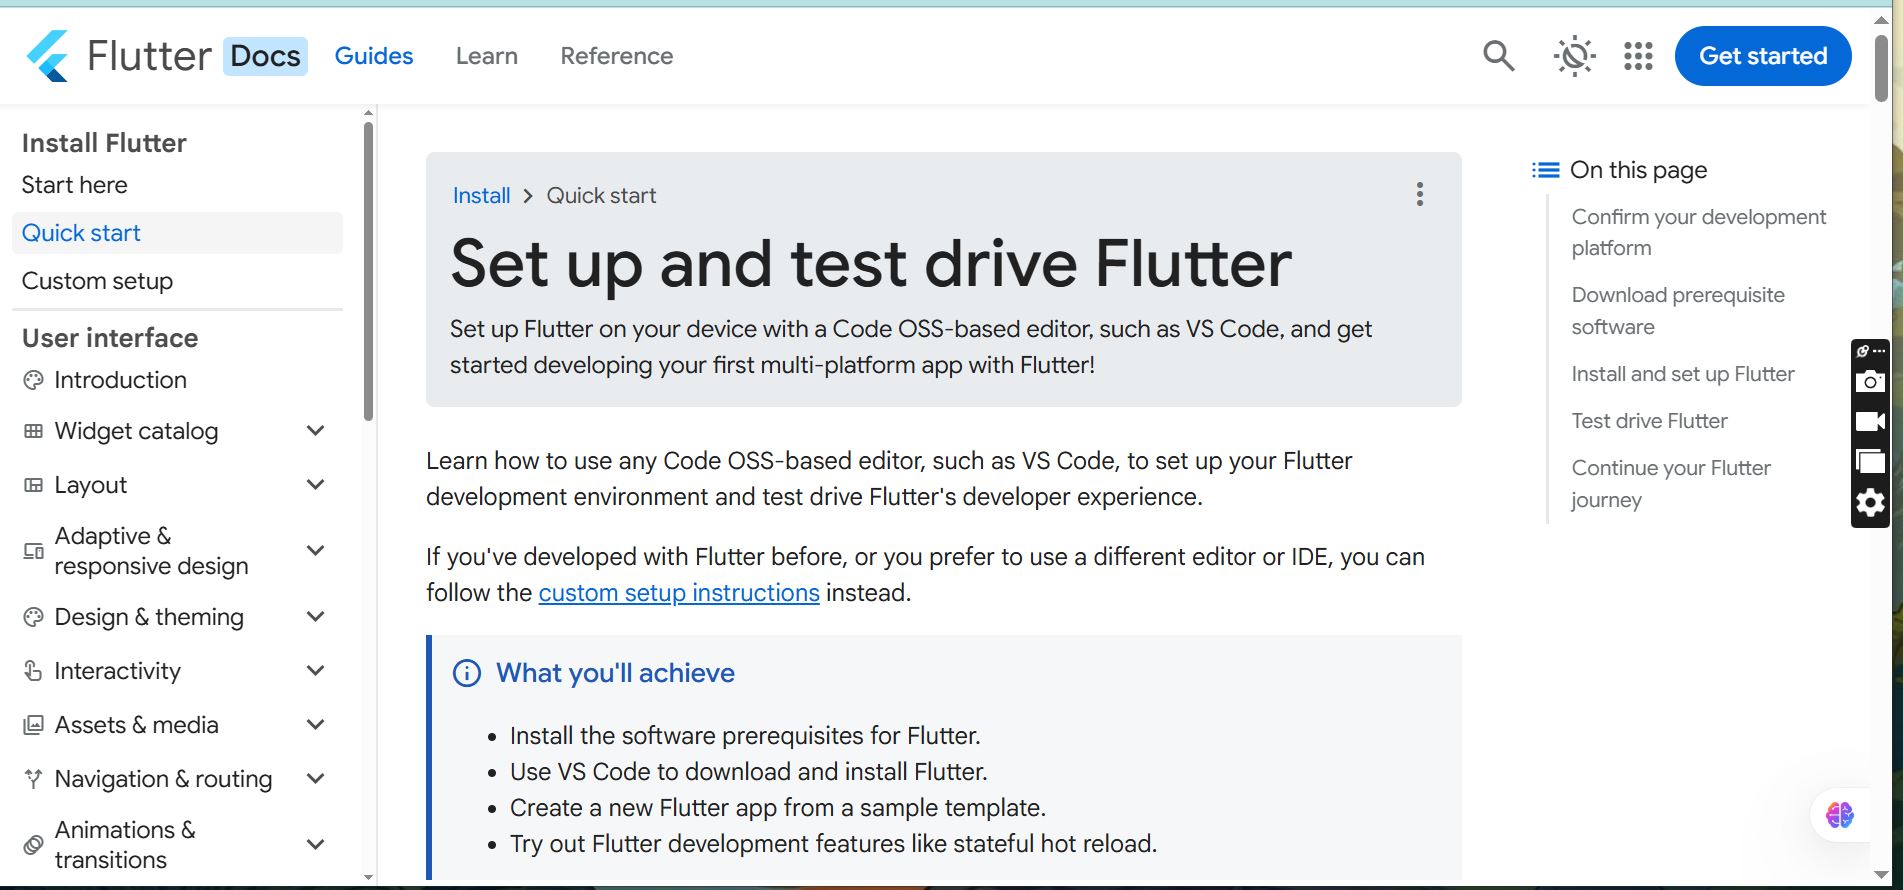
Step 1 – Install Flutter SDK
Go to the official Flutter website
Download Flutter SDK for Windows / Mac / Linux
Extract the file
Move it to C:\flutter (Windows) or home folder (Mac/Linux)
Add Flutter to PATH:
Open Environment Variables
Edit Path
Add flutter\bin
Check installation:
flutter doctor
Fix errors if shown.
Step 2 – Install Android Studio or VS Code
You need a code editor and Android tools.
Install:
Android Studio
Flutter Plugin
Dart Plugin
Also install:
Android SDK
Emulator
Run Flutter Doctor again to confirm.
Step 3 – Create Your First Flutter App
Open a terminal and type:
flutter create myapp
Go inside the project:
cd myapp
Open the folder in VS Code or Android Studio.
Flutter will generate default files.
Step 4 – Run the Flutter App
Start the emulator or connect the phone.
Run:
flutter run
You will see a demo app.
This means Flutter setup is correct.
Step 5 – Understand Project Structure
Important files:
lib/main.dart → main code
pubspec.yaml → packages
Android → Android settings
ios → iOS settings
Edit text in main. dart to change UI.
Use Hot Reload to see changes quickly.
Step 6 – Build APK File
To create an Android app file:
flutter build apk
For release:
flutter build apk --release
APK file will be inside the build folder.
Step 7 – Publish Flutter App
Create Google Play Developer account
Build release APK
Upload APK / AAB
Add description and screenshots
Submit for review
Your Flutter app is ready.
Mini User Guide to Make an App Using React Native
React Native is developed by Meta and uses JavaScript. It is popular because many developers already know JavaScript.
Step 1 – Install Node.js
Download Node.js from official website.
Check installation:
node -v
npm -v
Both should show the version.
Step 2 – Install React Native CLI
Open terminal and run:
npm install -g react-native-cli
You also need:
Android Studio
SDK
Emulator
VS Code
Step 3 – Create React Native Project
Run command:
npx react-native init MyApp
Go to project folder:
cd MyApp
Open in VS Code.
Step 4 – Run the App
Start emulator or connect phone.
Run:
npx react-native run-android
or
npx react-native run-ios
Demo app will open.
Step 5 – Understand Project Structure
Important folders:
App.js → main file
android → Android files
ios → iOS files
node_modules → packages
Edit App.js to change UI.
Save file to see changes.
Step 6 – Add UI Components
React Native uses components.
Examples:
View
Text
Button
Image
ScrollView
You can design screens using components.
Step 7 – Build App File
For Android:
cd android
gradlew assembleRelease
APK will be created in build folder.
For iOS:
Use Xcode to build.
Step 8 – Publish React Native App
Steps:
Create Play Store / App Store account
Build release version
Upload file
Add description
Submit for review
Your React Native app is ready.
Learning mobile app development today can completely change your professional journey. In a world where businesses, startups, and even individuals need their own applications, the ability to create an app using tools like Flutter and React Native has become a powerful and valuable skill. Whether you are a student, developer, freelancer, or entrepreneur, knowing how to build mobile apps can open new career opportunities, increase your income potential, and give you the confidence to create your own digital products.
Technology is growing every day, and those who learn modern skills like cross-platform app development stay ahead of the competition. By practicing the steps in this guide, you are not only learning how to make an app, but also preparing yourself for a future where digital skills decide success. Start small, keep experimenting, and continue improving your knowledge. The apps you build today can become the projects, jobs, or businesses that shape your tomorrow.